Working with electricity can be scary and intimidating if you don’t have any previous electrical experience. There may be times when you’re experiencing electrical problems with an outlet or light fixture and you need to test for electrical current. While using an electrical tester might sound difficult, it’s actually quite simple. In this article, there would be an explanation of how to use an electrical tester as well as when the right time is to use one. Whether you know nothing about electrical testers or you just need a quick reminder about how they work, you’ve come to the right place to answer your question “Electrical Tester – How to Use One”.
How a Non-Contact Voltage Tester Works
Knowing how to use a voltage tester is a great skill to have in your arsenal. Non-contact voltage testers are the most basic of all voltage testers and the cheapest as well. Basically, a non-contact voltage tester works by alerting you through beeping and warning lights as to whether or not an electrical component has live power running to it or not. Outlets, lights, electrical wires, and light switches are all things that you can test with a non-contact voltage tester.
Let’s take a look at how to test each of these individual components using a non-contact electrical current or voltage tester.
Test a Light Switch
To test a light switch with your non-contact electrical tester, follow these simple steps.
Flip the switches several times to make sure that no lights are turning on and that the power is off.
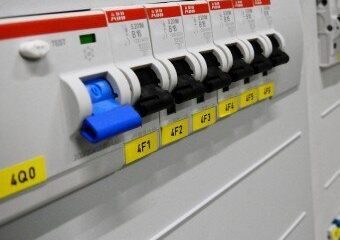
If you haven’t already, turn the power off at the main panel box by flipping the circuit breaker and controlling the light switch to OFF.
Remove the cover plate at the light switch in question
At the bottom and top of each of the light switches there is a terminal or screw. Place the front of the electrical tester against each of these terminals to make sure they aren’t live. If you don’t hear a beeping or chirping noise coming from the tester, then the power is turned off.
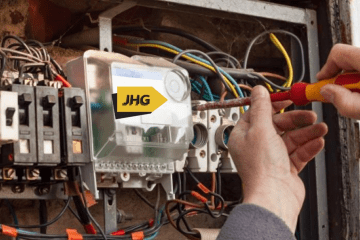
Detach the light switches and pull them away from the wall so that you have room to test the individual wires in the electrical box. Place your tester against each wire, making sure that none of them are still live.
Make sure to check each one of the switches at the switch box if there is more than one
There you have it, how to use a non-contact tester on a light switch. If none of the switches or wires are hot then you’ve successfully turned the power off. If, however, the tester beeps or lights up when you pushed it against one of the wires or terminals, there is still power running to the switches.
Test an Outlet
Using your non-contact tester as an electrical outlet tester is even easier than using it to test a light switch. Follow these steps to safely and effectively determine whether or not an outlet has power running to it.
Insert the front end of the electrical outlet tester into the receptacle holes on your outlet.
If you haven’t already, make sure that the power is turned off to the outlet at the main panel box.
Once you’re sure that the outlets are dead you can unscrew the wall plate and remove it
Pull the outlet away from the wall and test the individual wires in the outlet box. There might only be two wires or there could be as many as half a dozen.
Because there might be many different wires connected to your outlet box, there’s a possibility that one of them could be live. Make sure to test each wire individually to make sure they’re all dead.
Limits
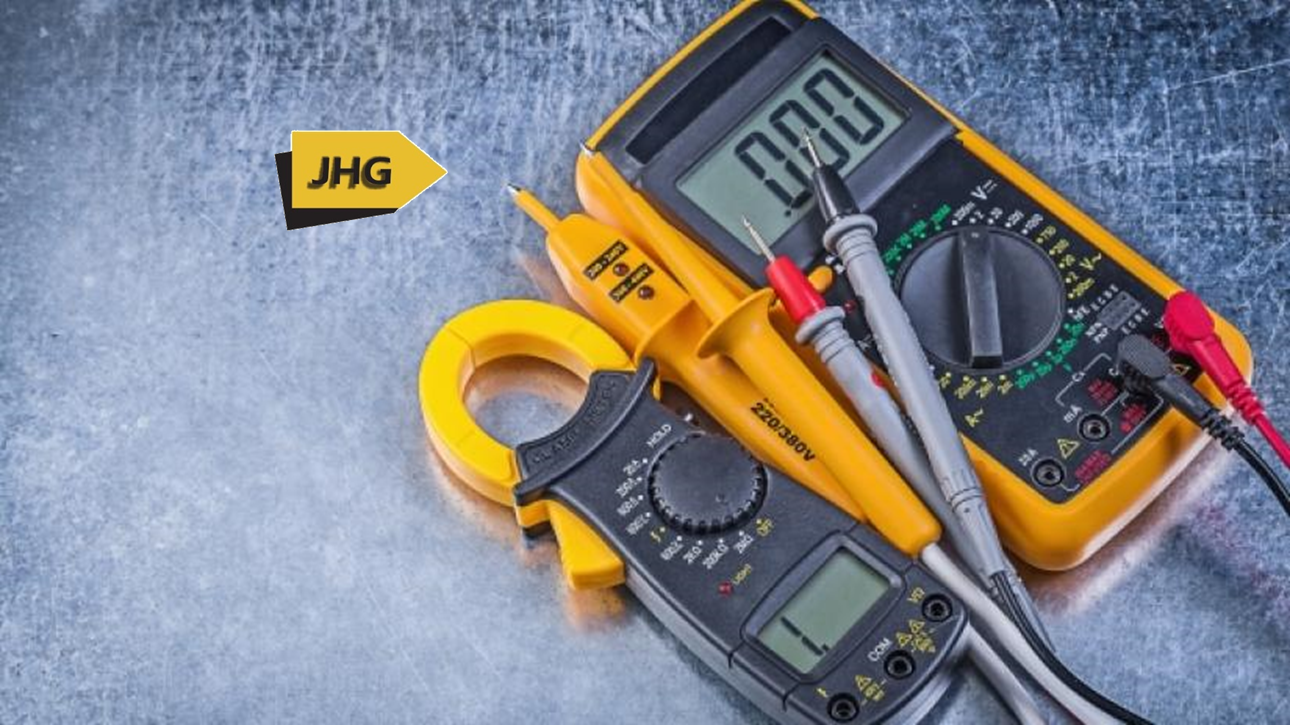
While non-contact voltage testers are great for basic electrical testing, they cannot do so much. If you really want to get in-depth at diagnosing electrical problems, then you’ll need something more powerful. A non-contact tester will tell you if something has power or not, but other tools like multimeters will tell you how much power something has as well as where the power is coming from. Using these tools is more difficult and in-depth so you might require the assistance of a professional electrician, such as Just HardRich Global Resources Limited.
How to Use a Multimeter to Test an Outlet
Using a multimeter to test an outlet is more difficult than a simple non-contact voltage tester. If you think you’re up for the task though, here’s what you need to know.
Hold both of the multimeter probes in the same hand to prevent an electrical shock from going through your body. If power is turned off at the panel box, then an electrical shock shouldn’t occur, but it’s better to be safe than sorry.
Set your multimeter to the alternating current or AC function
Push the BLACK lead of the multimeter into the connector labeled as COM. Push the RED lead of the multimeter into the other connector.
Using one hand, insert one of the probes into each of the vertical holes on the outlet. You should receive a reading of 100 to 120 on your multimeter.
To make sure the outlet is properly grounded, keep one of the leads in the vertical hole on the outlet. Take the other lead and insert it into the round hole. If the reading is the same as before, then your outlet is grounded correctly.
Repeat the process with the opposite probes on the outlet to make sure the wiring isn’t reversed.
Contact the Pros
Dealing with electrical issues in your home can be a scary proposition for many people, but with the right guidance and tools, there are some issues you can resolve on your own. For more information about using a multimeter, or for help dealing with a bigger electrical issue, call your local electrical pros at Just HardRich Global Resources Limited. We have the knowledge and experience to resolve any electrical problems you encounter. Call us today at (234) 803 255 9417.


